
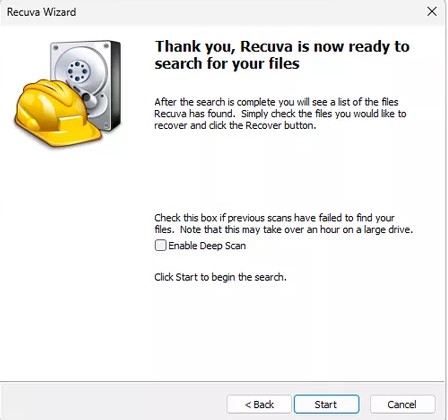
A normal scan leans on the file system’s directory information. That is perfect when you deleted something recently and the volume has not been heavily reused. It finishes sooner and the file names you see are usually the real names.
Deep Scan (or the equivalent long mode) walks the disk looking for known file signatures. Reach for it after a quick format, a reinstall, or when the normal pass returns an empty or nonsense list. Trade-offs: much longer runtime, and many rows may show generic names or odd paths because the tool is guessing from content, not from intact metadata.
If progress looks stuck, confirm the disk LED or Task Manager disk activity before you cancel. On USB disks, a “frozen” percentage can still be a slow bridge or a nearly full flash translation layer working overtime.
Duplicate rows and filtering
Deep Scan often surfaces several rows that look like the same photo or document with different generated names. That is normal when metadata is missing: the tool is offering multiple candidate cluster chains. Recover one or two, compare checksums or visual content, then widen the batch once you trust the pattern.
- Sort by size and modified date to group likely matches.
- Recover a few candidates before you script a mass recovery.
- Open samples in the real app (not only the preview pane).
Pair this with How it works for USB and SSD context, and always recover to a different disk than the one you scan.